
Vegetable Gardening Layout Solved: Just Press, Poke and Plant!
There are so many good reasons to plant a vegetable garden: the thrill of eating your own organic produce, getting exercise and fresh air working in the garden, and saving on your weekly grocery bill.
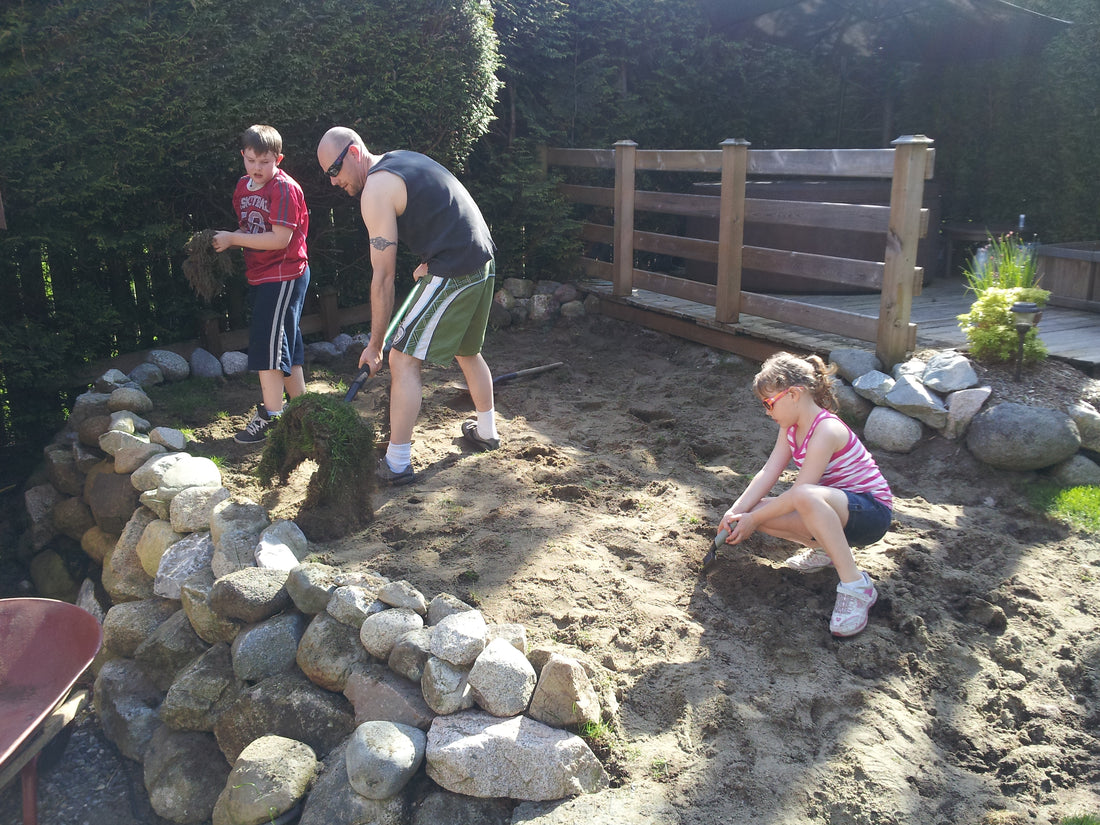
My husband and I had all that in mind, and more, when we started our family vegetable garden. Our main goal was to have our children experience the value and fun of vegetable gardening, something we had both enjoyed as kids.
So, one summer day we rolled up our sleeves and dug into our backyard lawn to create the layout for our first vegetable garden.

The problem was that while we remembered eating the fresh veggies and juicy strawberries grown in our backyards, our parents were the actual gardeners. We were vegetable gardening beginners, and there were a few surprises in store!
Reality struck after the excitement of seeing the little green shoots come up: we realized we couldn’t tell the weeds from the veggies. Weeks later, it was not the harvesting success we had dreamed of.
Proper seed spacing makes all the difference
That experience made us realize the importance of optimal vegetable seed and plant spacing, and that led us to the concept of Square Foot Gardening.
Square Foot Gardening is a vegetable gardening layout technique that a retired engineer named Mel Bartholomew pioneered and popularized in the first edition of his book published in 1981, now a vegetable gardening classic. Seeds are planted in a 12" x 12" grid – traditionally made with sticks or strings on top of garden boxes – allowing enough room for each plant to grow to maturity, as big and strong as possible, without wasting any space.

A Square Foot Garden layout ensures all the space is fully used, squeezing out the weeds and reducing watering, because less exposed soil means less evaporation.
Square Foot Gardening was a revelation for us! However, it was trickier than expected to apply to our own vegetable garden: we didn’t have raised beds and our garden plot had an unusual shape that made it hard to fit the grids.
We knew there had to be a better way, so after much research, trial and effort in our own garden, we created a vegetable garden layout tool based on Square Foot Gardening principles that was super easy for anyone to use: the Seeding Square plant spacer.

Our color-coded seed spacing tool made vegetable garden layout and seed planting something that even a child could do! (And kids love it!) There was no longer a need for the wooden or string grids. It can be used in any plot of soil available (so long as there is at least one square foot in space).
Vegetable Garden Layout With Seeding Square
The Seeding Square tool makes vegetable gardening layout as easy as “paint by number.” Each Seeding Square kit comes with the Seeding Square template, a dibber wand, a funnel, a Planting Guide and instructions.

How to use Seeding Square:
- Choose which veggies you want to grow, according to your gardening zone. (See plant hardiness zones for Canada and the United States. Find your seed type on the Seeding Square Planting Guide and see what colour box it is in on the chart. (The different colours indicate the space required for different types of plants.) The planting guides include all common garden vegetables.
(Pro tip: You can also check our Seeding Square Companion Planting Guide (insert link: – available as a downloadable pdf – to see which vegetable planting combinations are best, good or bad. Learn more about companion planting from the Old Farmer’s Almanac.


The color-coded Seeding Square Planting Guide lists all favourite vegetables
- Press: Remove the funnel from the back of the Seeding Square tool and firmly press the Seeding Square into your prepared garden soil.

- Poke: Use the Seeding Square dibber wand to poke the holes that match the colour code on the planting guide chart for each vegetable. For optimum results poke the holes of only ONE color for each press of the square. This gives each plant the perfect amount of space. Refer to the seed package for proper seed depth. The dibber has depth measurements on the side so you’ll know exactly how far down to press to poke a hole for each seed. This increases germination rates.

- Plant: Using the dibber’s handy seeding spoon (or by hand), scoop the seeds from the package and deposit one to four seeds through the funnel into the hole. After you’ve poked and planted each hole of the same colour, your first square is seeded! Pick up the Seeding Square tool by the oblong holes and you’ll see the template impression left in the soil. Line up the next
square foot block along the border impression of the previous press. Repeat until the entire garden is seeded. You can plant your entire garden in either the “patchwork quilt” pattern of traditional Square Foot Gardening or else in rows by stamping out the same type of vegetable over and over.
To finish, lightly cover the seeds and water accordingly.

Less weeds! More veggies!
As your vegetables grow with laser-beam straight precision, the weeding process is so much easier as any weeds that show up to the party will stick out like a sore thumb. This allows them to be removed without having to wait to properly identify them – super efficient and time-saving. Plus, the thicker, denser crop canopy from optimizing your garden layout reduces the amount of sunlight required for the weeds to grow. You won’t need to struggle like we did that first year.

Without weeds interfering, all the nutrients in your soil will go directly to your vegetable plants. That space optimization will grow 200-500% more vegetables than traditional gardening practices, so you can get lots of food from a small space.
Have more questions? See our Seeding Square FAQs.
Keep in touch and let us know how your garden grows! Share your photos and comments in our Seeding Square community on Facebook, Instagram and Pinterest and check out our videos on YouTube. Tag us at #SeedingSquare.
Get growing!